Configure the Scheduler
To configure the Scheduler, follow the steps below:
-
Press the ‘Settings’ button
 at the top of Enterprise Manager.
 -
Select the Schedule page in the left panel, and select the Settings tab at the top.
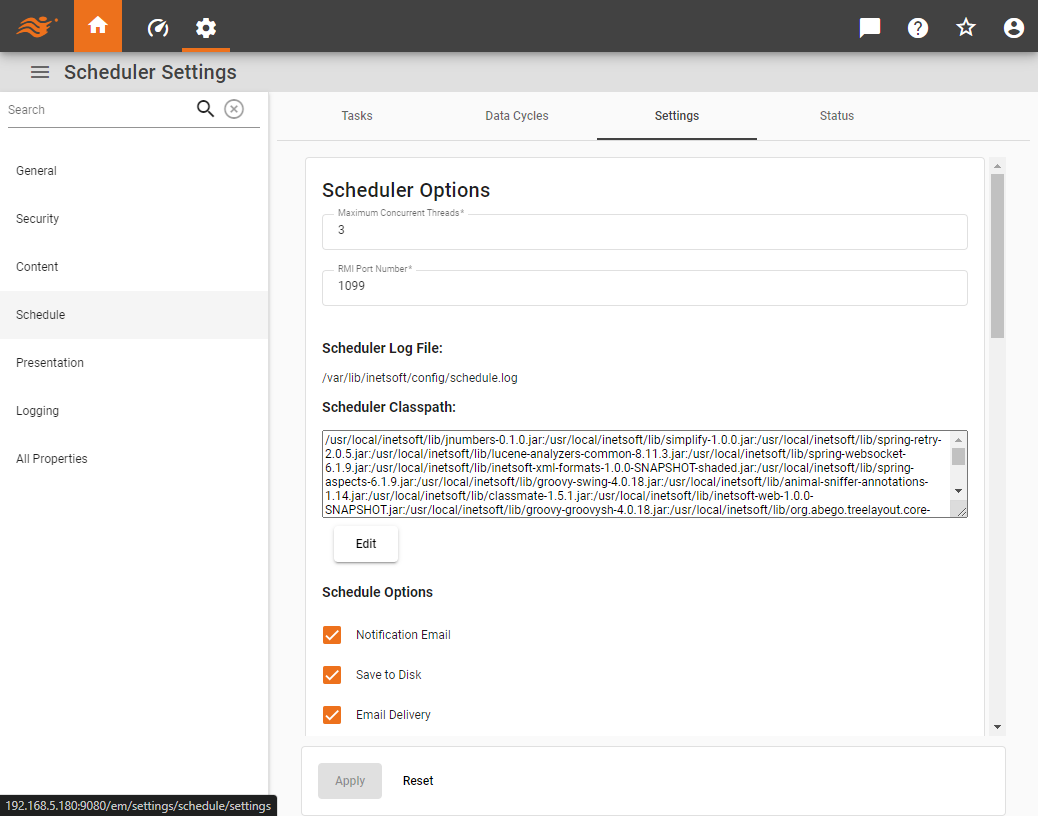
The following sections explain the settings available for scheduled tasks.
Scheduler Properties
- Maximum Concurrent Threads
-
Set the maximum number of threads that can be executed concurrently.
- RMI Port Number
-
The Scheduler server is an RMI application. By default RMI uses port 1099. If the default RMI port is not used, it can be changed here.
- Scheduler Log File
-
Contains log messages generated by the Scheduler.
- Scheduler Classpath
-
The classpath that will be prepended to the system classpath when the Scheduler process is started. The scheduler is a separate process with a separate JVM. Be sure to specify all the appropriate JAR files. The RMI registry will be started automatically. To modify the classpath, see Edit the Scheduler Classpath below.
- Schedule Options
-
Select options available to a user when they schedule tasks, such as ‘Notification Email’, etc. The ‘Enable Email Browser’ option allows the user to choose emails from a list for email actions.
- Share Tasks Between Users in Same Group
-
Allows users in the same group to access a scheduled task. Enable the subordinate ‘Modify By Owner Only’ option to prevent users other than the task creator from deleting or editing a task.
- Save File Suffix
-
Suffix to be automatically appended to the name of all files saved to the server by the Scheduler. User placeholder
{0}to insert the Dashboard name, and use placeholder{1}to insert the file creation date. You can specify a format for the date parameter using date format symbols.See a list of available date format symbols…
For examples of how to construct dates using these symbols, see Date Format in Visualize Your Data.
Symbol Description Example G
Era
AD
y, yyyy
Year
18, 2018
Q, QQQ
Quarter in year
2, 2nd
M, MM, MMM, MMMM
Month in year
2, 02, Feb, February
w
Week number in year
34
W
Week number in month
3
D
Day number in year
200
d, dd
Day number in month
5, 05
u, uu
Day number in week (Monday = 1)
4, 04
F
Day of week in month
2 (i.e., second Tuesday in month)
E, EEEE
Day of week
Wed, Wednesday
a
AM/PM
PM
H
Hour in day (24-hour; midnight is 0)
23, if time is 11:01PM
0, if time is 12:01AM
1, if time is 1:01AMk
Hour in day (24-hour; midnight is 24)
23, if time is 11:01PM
24, if time is 12:01AM
1, if time is 1:01AMh
Hour in day (12-hour; midnight is 12)
11, if time is 11:01PM
12, if time is 12:01AM
1, if time is 1:01AMK
Hour in day (12-hour; midnight is 0)
11, if time is 11:01PM
0, if time is 12:01AM
1, if time is 1:01AMm, mm
Minute in hour
3, 03
s, ss
Second in minute
9, 09
S, SSS
Millisecond
27, 027
z, zzzz
Time zone
EST, Eastern Standard Time
Z
RFC 822 time zone
-0500
X, XX, XXX
ISO 8601 time zone
-05, -0500, -05:00
Some examples of automatically generated filenames (for a specified filename of “FileName”) are shown below.
Save File Suffix Generated Filename _{1,date}FileName_Nov 14, 2007.pdf
_{0}_{1,date}FileName_DashboardName_Nov 14, 2007.pdf
_{1,date,MMM-dd}FileName_Nov-14.pdf
_{1,date,EEE-h-mm a}FileName_Wed-11-49 AM.pdf
_{1,date,yy-MM-dd-HH-z}FileName_07-11-14-11-EST.pdf
- Memory Usage
-
Sets the minimum and maximum memory usage for the Scheduler.
Edit the Scheduler Classpath
To edit the Scheduler classpath, follow the steps below:
-
Press the Edit button below the classpath string.
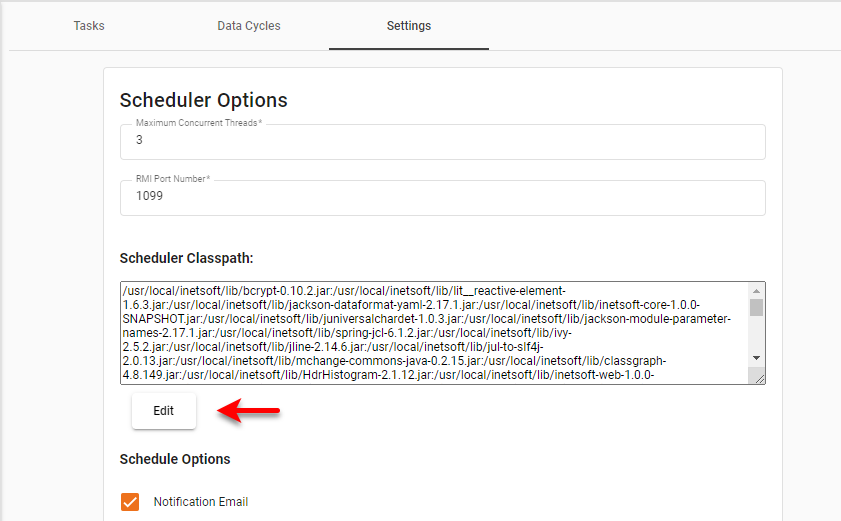
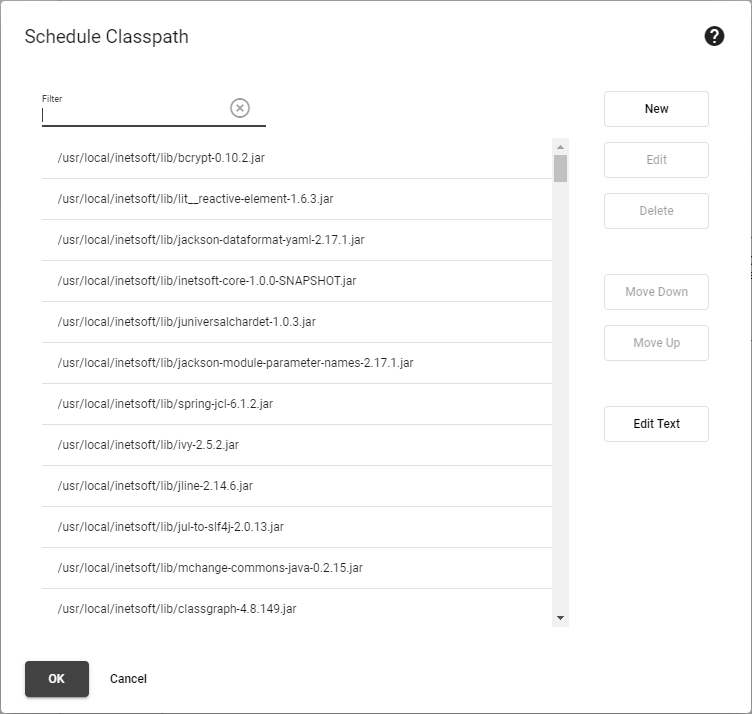
This opens the ‘Schedule Classpath ‘ dialog box.
-
To add a new entry to the classpath, press the New button . Then type the desired path, and press OK.
-
To edit an existing entry on the classpath, select the desired entry and press the Edit button . Then edit the path as desired, and press OK. To search through the path list, enter a full or partial search term in the ‘Filter’ box above the table.
-
To delete an existing entry from the classpath, select the desired entry and press the Delete button . Press OK.
-
To rearrange entries on the classpath, select a desired entry and press the Move Down or Move Up button. Press OK.
-
To edit the full path string, press the Edit Text button. This opens the ‘Edit Classpath’ dialog box.
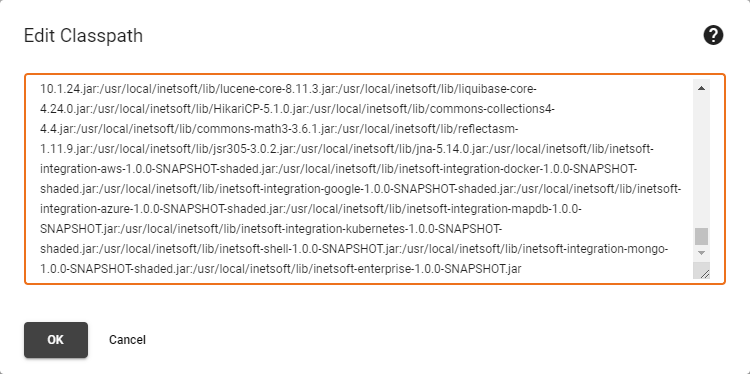
Make the desired edits and press OK. Press OK again to exit the ‘Schedule Classpath ‘ dialog box.
Set Task Notifications
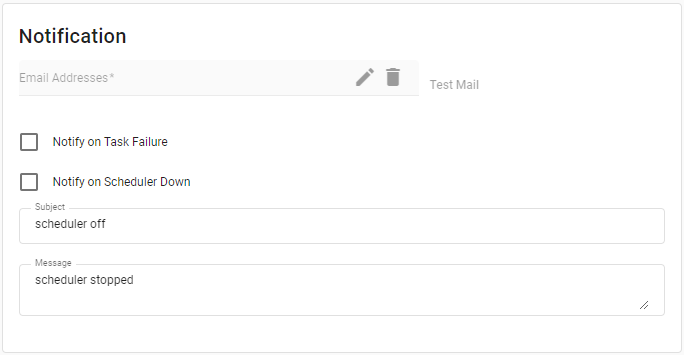
To configure notifications for Scheduler status, scroll down to the ‘Notification’ panel. This allows the server to send a one-time message if a Scheduled task or the Scheduler application stops abnormally. A ‘Mail Host’ and ‘From Email Address’ must be specified on the ‘Mail Configuration’ page (see Configure Server Email).
The following options are available:
- Email Address
-
A comma- or semicolon-separated list of email addresses to which Scheduler notifications should be sent.
- Notify on Task Failure
-
Send a notification if a scheduled task could not be completed.
- Notify on Scheduler Down
-
Send a notification if the Scheduler application stops abnormally.
- Subject
-
Subject line of the email.
- Message
-
Body of the email.
Define Time Ranges
| In Enterprise Edition this feature is available to Site Administrators only. |
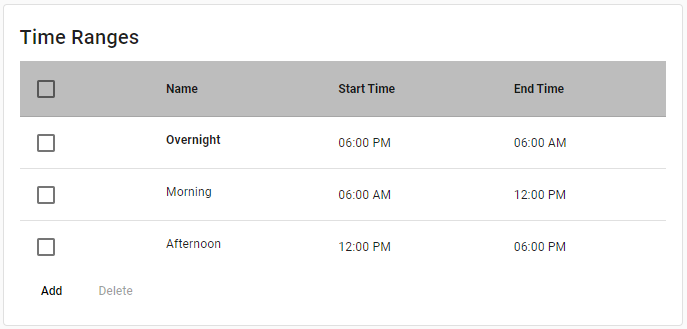
When you create a scheduled task (as an administrator or user), you can select a “time range” for the task rather specifying a fixed time. This allows scheduled tasks to be automatically distributed in time for optimal performance.
To create a new time range, follow the steps below:
-
Press the Add button in the ‘Time Ranges’ panel.
-
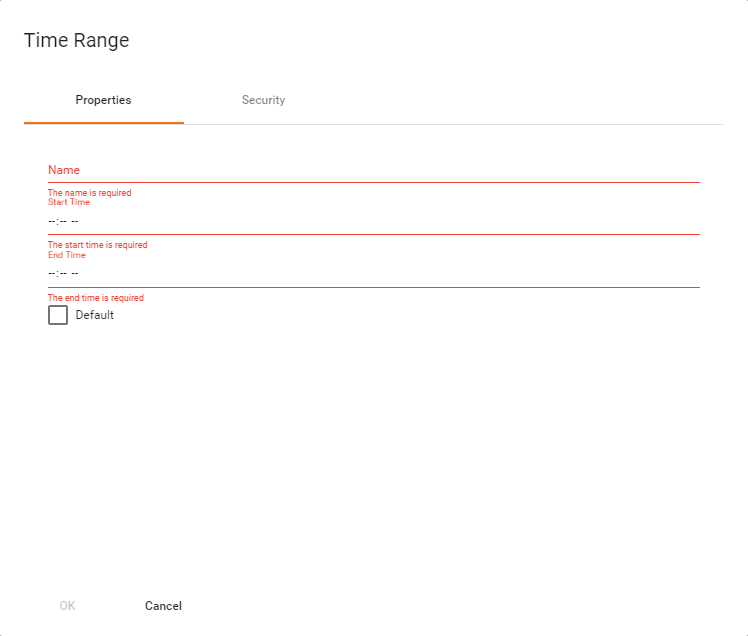
In the ‘Time Range’ dialog box, enter a name for the time range, and specify the start and end times.
-
Optional: Select ‘Default’ to make this the default time range.
-
Optional: Select the Security tab in the dialog box, and assign permissions for this particular time range to different users, groups, or roles.
To specify in general which users, groups, and roles have access to the time range feature for scheduling, use the ‘Time Range’ option on the Actions tab of the Security page. See Set Security Actions for instruction on how to assign action permissions. -
Press OK.
To edit a time range, click on the range’s name in the list.
Restrict Server Save Paths
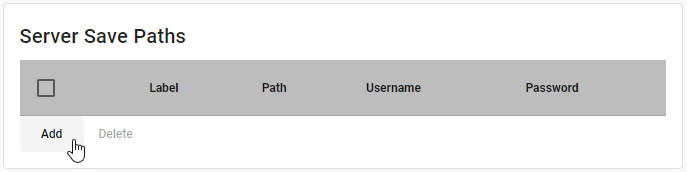
To restrict the server paths on which a scheduled task can save files, follow the steps below:
-
Press the Add button in the ‘Server Save Paths’ panel.
-
In the ‘Server Save Path’ dialog box, enter a label for the path, and specify the corresponding server path.
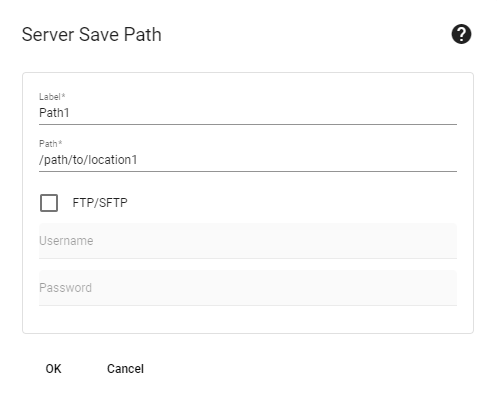
To save to an FTP server, check the ‘FTP/SFTP’ box and enter a valid ‘Path’, ‘Username’ and ‘Password’.
For SFTP connections, the known hosts file, .ssh/known_hosts, is automatically read from the user’s home directory. Before running the scheduled task, an administrator should populate the known_hosts file by first connecting (SSH) to the target server from each InetSoft server node. -
Press OK.
-
Repeat the above steps to add additional server paths.
-
Press Apply.
To edit a server path, click on the path label in the list. Scheduled save actions defined in Enterprise Manager (see Set Security Actions) and the User Portal (see Schedule a Dashboard) will be able to access only the server paths that you specify here. If you specify no server paths, there will be no restrictions on the save location.
Execute Custom Scheduler Code
To execute custom code before or after a scheduled task executes, implement the inetsoft.sree.schedule.TaskListener interface. There are two methods in the interface.
- taskStarted
-
Invoked when the task begins
- taskCompleted
-
Invoked when the task ends
To attach a listener to a scheduled task, add property schedule.task.listener. The property should specify the fully qualified name of the listener class. See All Properties for information on how to set properties.
import inetsoft.sree.schedule.*;
import java.util.*;
import java.security.*;

public class DefaultTaskListener implements TaskListener {
   public void taskStarted(ScheduleTask task, Principal user) {
      // Code to invoke when task starts
   }

   public void taskCompleted(ScheduleTask task, Principal user, List<Throwable> errors) {
      // Code to invoke when task completes
   }
}