Create a Condition
| This feature is available only in Enterprise Edition. |
You can add a condition to a VPM to filter the rows retrieved from the database tables. Follow the steps below:
-
If necessary, create a VPM as explained in Create a New VPM.
-
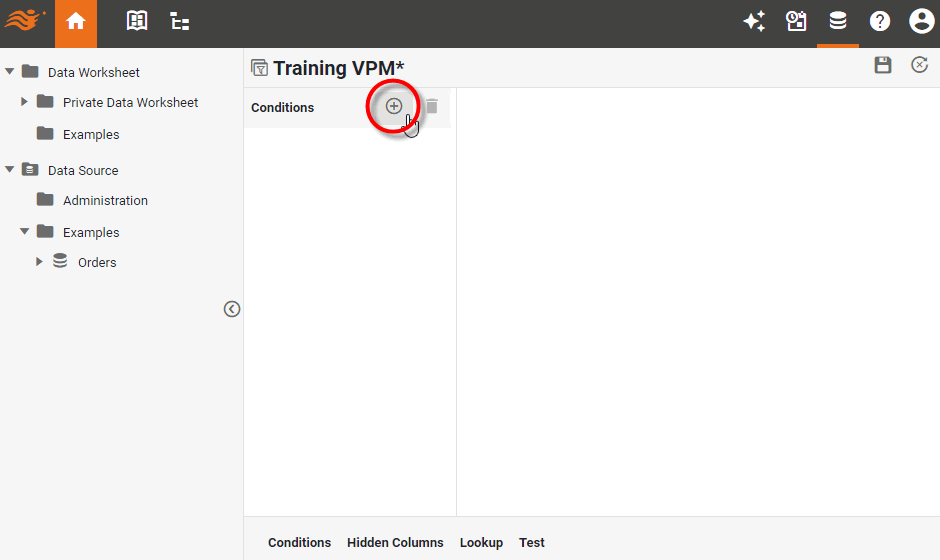
Select the Conditions tab at the bottom, and press the ‘Add Condition’ button
 .
.
-
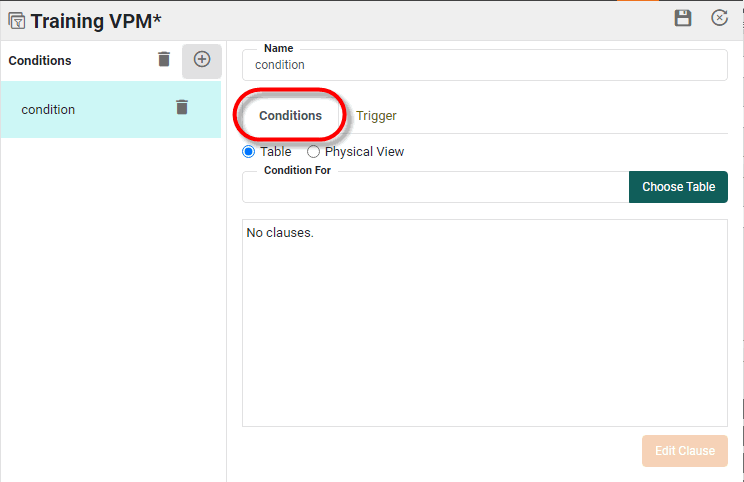
Select the Conditions sub-tab.
-
Choose whether the VPM will be triggered based on a particular database table referenced in a query or by a particular physical view referenced in a query:
- Table
-
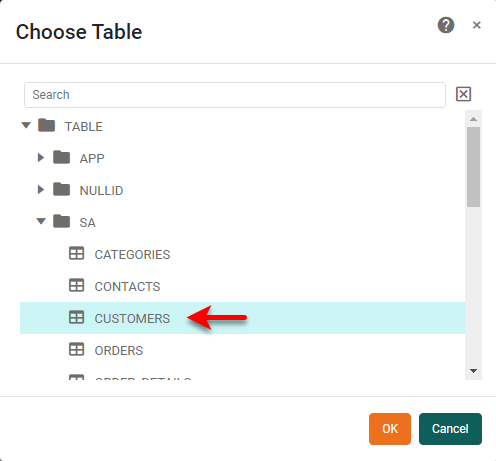
To trigger the VPM whenever a query references a particular database table, select the ‘Table’ option. If the ‘Choose Table’ dialog box does not open automatically, press the Choose Table button.

In the ‘Choose Table’ dialog box, select the database table that should trigger the VPM and press OK.
- Physical View
-
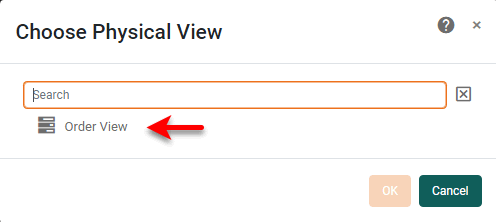
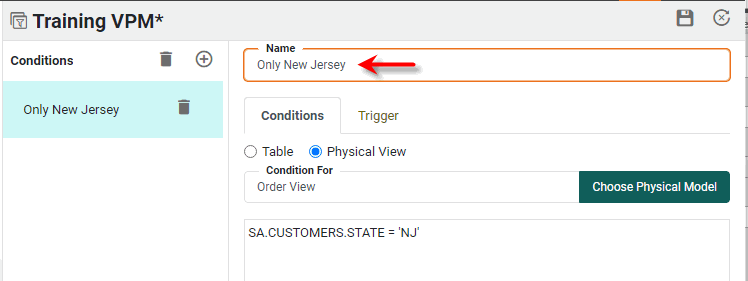
To trigger the VPM whenever a query is generated from a particular physical view, select the ‘Physical View’ option. If the ‘Choose Physical View’ dialog box does not open automatically, press the Choose Physical View button.
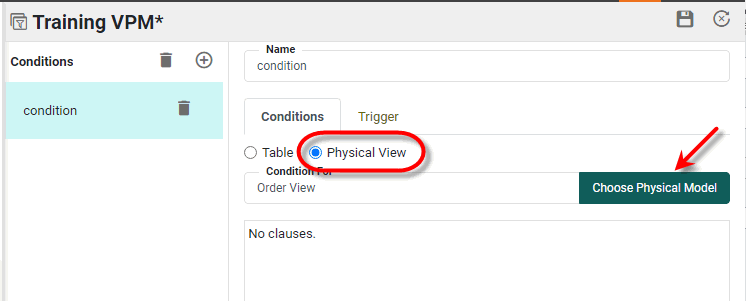
In the ‘Choose Physical View’ dialog box, select the physical view that should trigger the VPM and press OK.
-
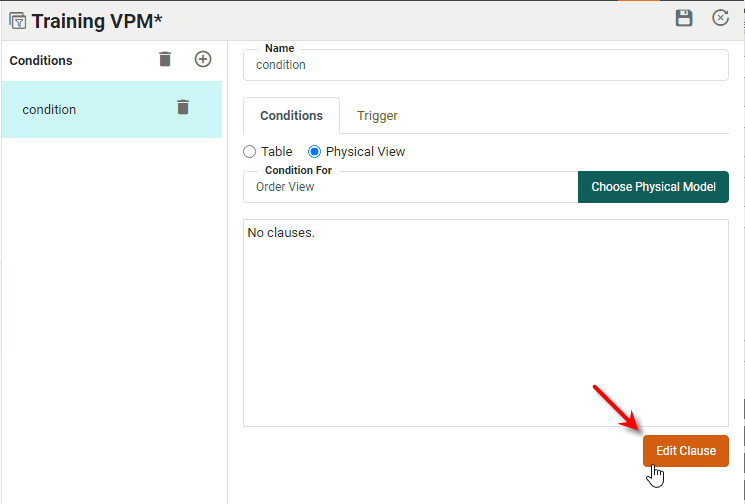
Press the Edit clause button. This opens the ‘Conditions’ dialog box.
-
Specify the desired condition clause.
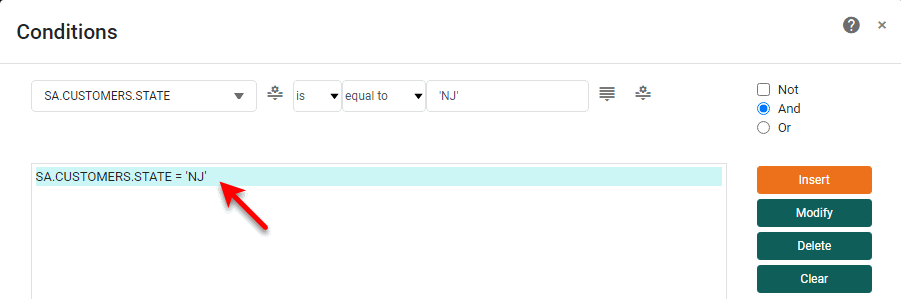
By default, the condition is based on field names and values. However, you can use the ‘Change Value Type’ button
 on the left or right side to create other types of conditions.
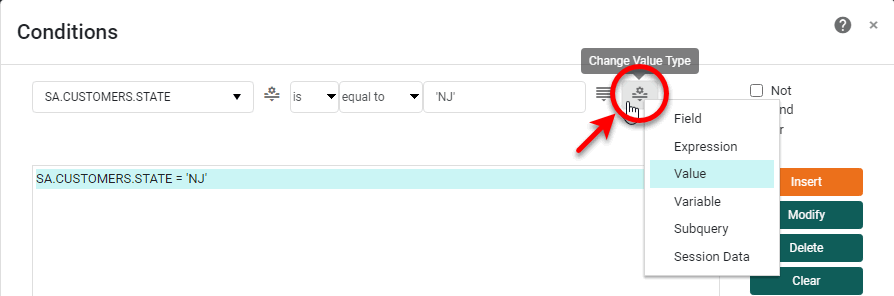 Value Type Options
- Field
-
Choose the desired field name to use the values of a data column in the condition.
- Expression
-
Enter a regular expression using Perl5 regex syntax.
See a summary of Perl5 regex syntax…
The following is a summary of the regular expression syntax, alternatives separated by
|. Expressions within parentheses are matched as subpattern groups and saved for use by certain methods.- Quantified atoms
{n,m} Match at least n but not more than m times. {n,} Match at least n times. {n} Match exactly n times. * Match 0 or more times. + Match 1 or more times. ? Match 0 or 1 times. a . matches everything except \n a ^ is a null token matching the beginning of a string or line (i.e., the position right after a newline or right before the beginning of a string) a $ is a null token matching the end of a string or line (i.e., the position right before a newline or right after the end of a string) Character classes (e.g., [abcd]) and ranges (e.g., [a-z])- Special backslashed characters (character class)
Work within a character class (except for backreferences and boundaries). \b is backspace inside a character class- Special backslashed characters
\b null token matching a word boundary (\w on one side and \W on the other) \B null token matching a boundary that isn't a word boundary \A Match only at beginning of string \Z Match only at end of string (or before newline at the end) \n newline \r carriage return \t tab \f formfeed \d digit [0-9] \D non-digit [^0-9] \w word character [0-9a-z_A-Z] \W a non-word character [^0-9a-z_A-Z] \s a whitespace character [ \t\n\r\f] \S a non-whitespace character [^ \t\n\r\f] \xnn hexadecimal representation of character \cD matches the corresponding control character \nn or \nnn octal representation of character unless a backreference. a \1, \2, \3, etc. match whatever the first, second, third, etc. parenthesized group matched. This is called a backreference. If there is no corresponding group, the number is interpreted as an octal representation of a character. \0 matches null character Any other backslashed character matches itself - Value
-
Enter a fixed value. Use the ‘Browse Data’ button
 , if available, to select the desired value from the specified field.
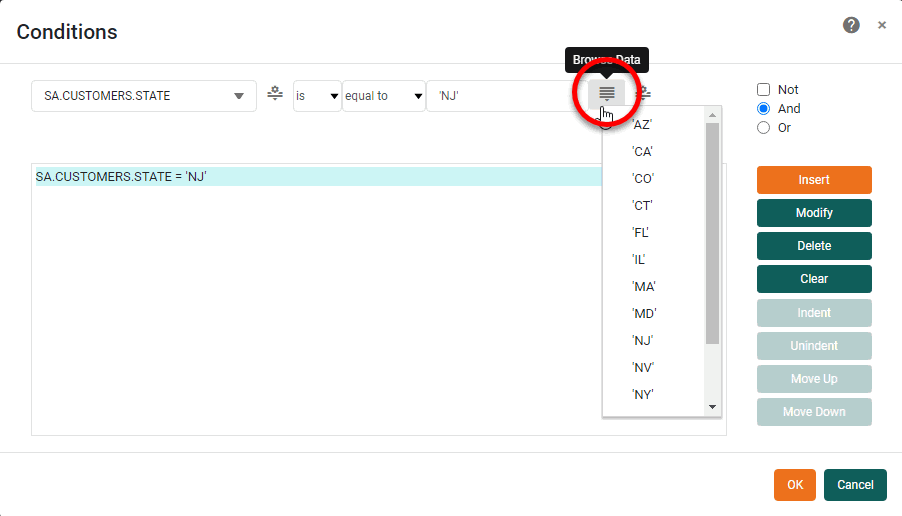
- Variable
-
Enter a desired variable name to create a parametrized condition where the parameter value will be supplied at runtime via script, session information, or user input.
- Session Data
-
Use the logged-in user’s name, roles, or groups in the condition.
- Subquery
-
Specify a distinct query to return the right-side of the condition.
-
Make any desired edits to the condition:
-
To delete an existing clause in the condition, click to select the clause, and press Delete.
-
To delete all clauses in the condition, press the Clear button.
-
To change the order of a clause in the condition, click to select the clause, press the Move Up or Move Down button.
-
To change the operator between two clauses (e.g., “and”, “or”), click on the operator to select it, and press the Modify button.

-
To indent or a pair of clauses joined by an “and” or “or” operator, click on the operator in the bottom panel, and press the Indent or Unindent button.
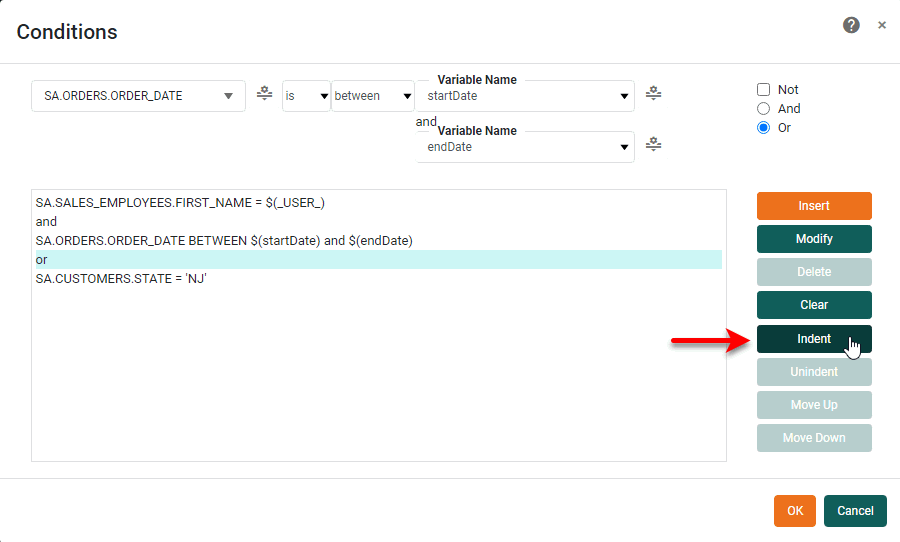
Logical operations within a given set of same-level indented clauses are performed prior to operations outside the indented clause set. (The indent represents the grouping operation of a “parenthesis” within a logical proposition.)
-
-
Press OK to close the ‘Conditions’ dialog box.
-
Repeat the above steps to add any additional clauses to the condition.
-
To add scripted logic that triggers the condition, see Add a Condition Trigger.
-
Enter a name for the condition in the ‘Name’ field.
-
Press the ‘Save’ button
 to save the VPM.