Upload Data
Watch Video: Import Data
This video might show an earlier version of the feature or operation that differs in minor ways from the current version.
In most cases, data sources will already be configured for you by an administrator. However, you can also import a plain text file, CSV file, or Excel file into a Data Worksheet. Follow the steps below to import a file into a Data Worksheet.
|
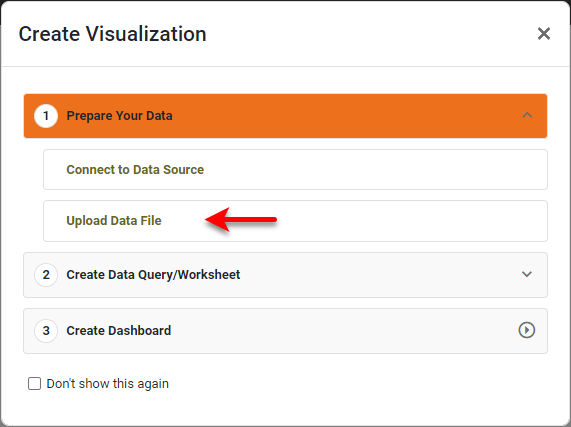
If you see the ‘Create Visualization’ dialog box instead of the User Portal, press Upload Data File to display the ‘Import Data File’ dialog box.
|
-
Create a new Data Worksheet and select the ‘Upload File’
 option. (See Create a Data Worksheet.) This opens the ‘Import Data File’ dialog box.
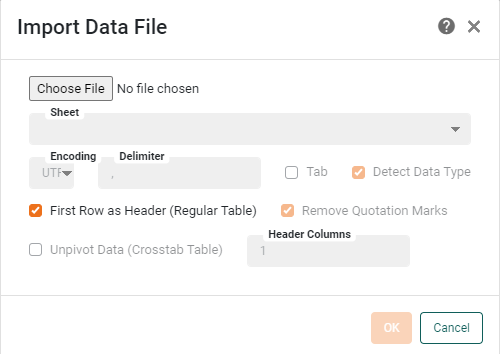
If a Data Worksheet is already open in Visual Composer, press the ‘Add’ button
 on the toolbar, and select ‘Upload File’ to open the ‘Import Data File’ dialog box.
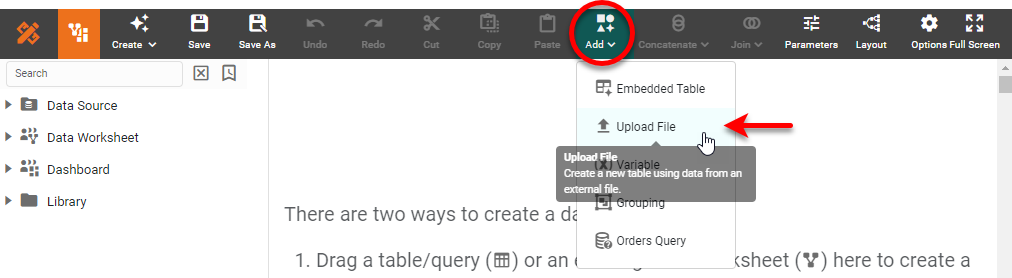
-
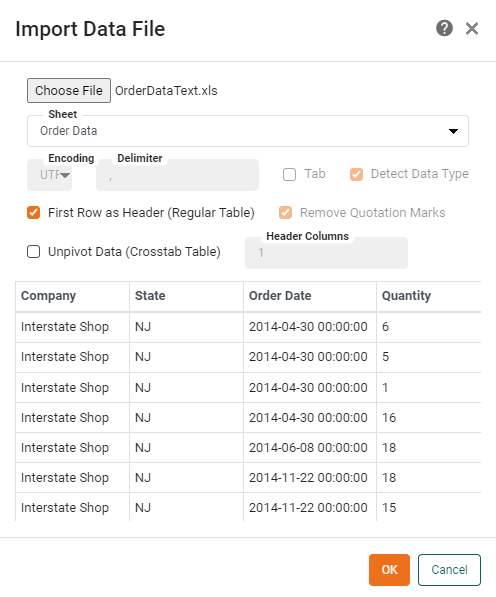
Press the Choose File or Browse button to open the ‘Open File’ dialog box. In this example, we will import an Excel file: Select an Excel file type (
.xls,*.xlsx) from the menu next to the ‘File name’ field.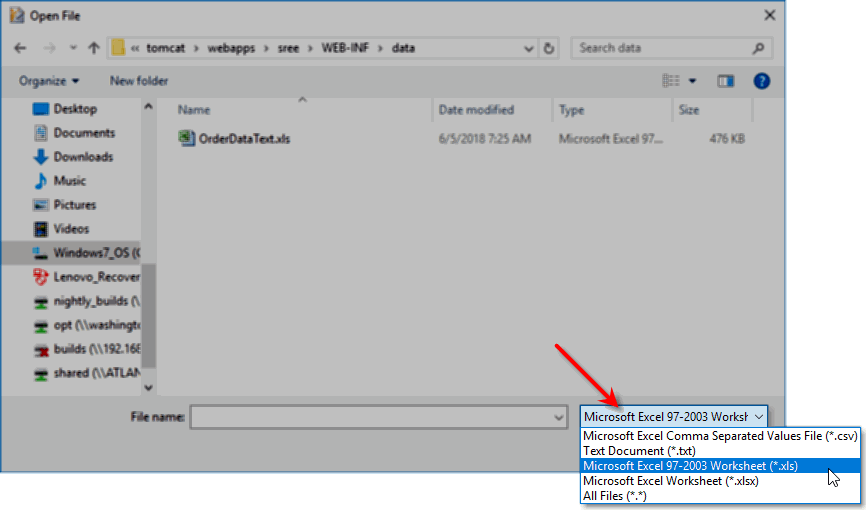
-
Select the desired Excel file and press Open. (Here we use the sample OrderDataText Excel file.)
-
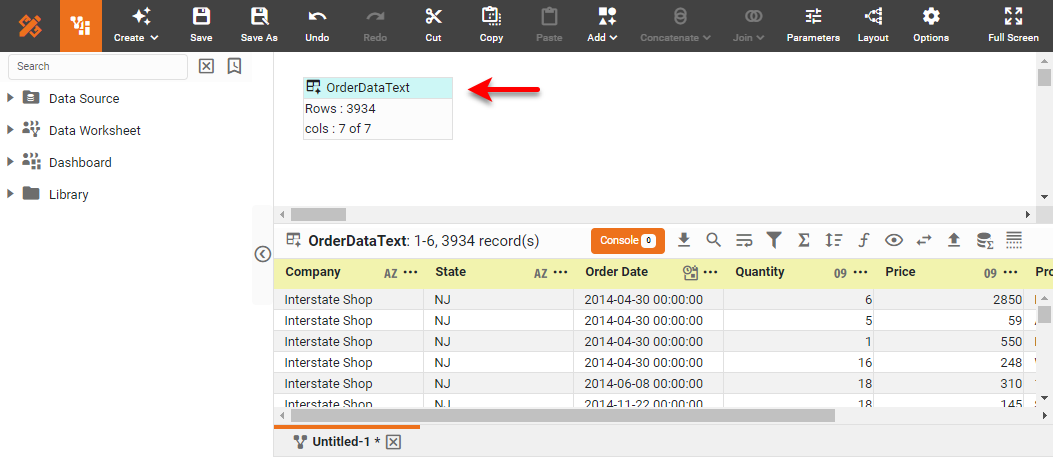
Press OK to import the data. (For the sample OrderDataText.xls Excel file, you do not need to change the other settings.) This creates a new data block named ‘OrderDataText’ with data from the file.
-
Right-click on the data block, and select ‘Properties’ from the context menu. Note: You can also access menu options from the ‘More’ button (
 ) in the mini-toolbar. This opens the ‘Table Properties’ panel.
 -
In the ‘Name’ field, enter a name for the data block, and press OK.
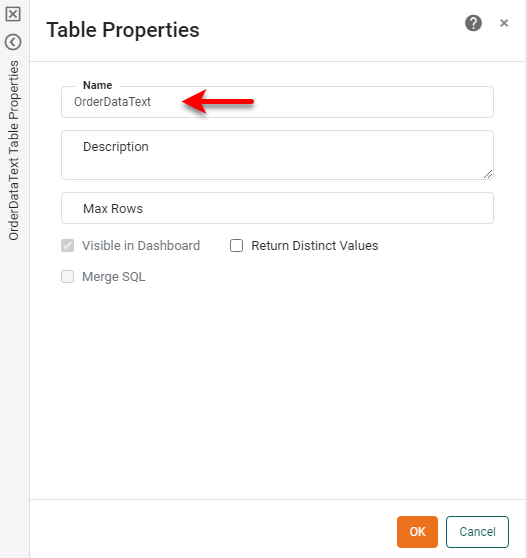
Names must be unique without respect to case (e.g., "num1" is the same name as "Num1"). -
If you want to manually modify the data in the data block, convert the data block into an Embedded Table. See Enter Data for more information.
-
Press the ‘Save’ button
 in the toolbar to save the Data Worksheet.