Register a Locale
To implement localization at the User Portal level or Dashboard level, first register the desired locales. The locale entries that you add here will be displayed in the ‘Locale’ menu of the User Portal and Enterprise Manager login screens.
Follow the steps below:
-
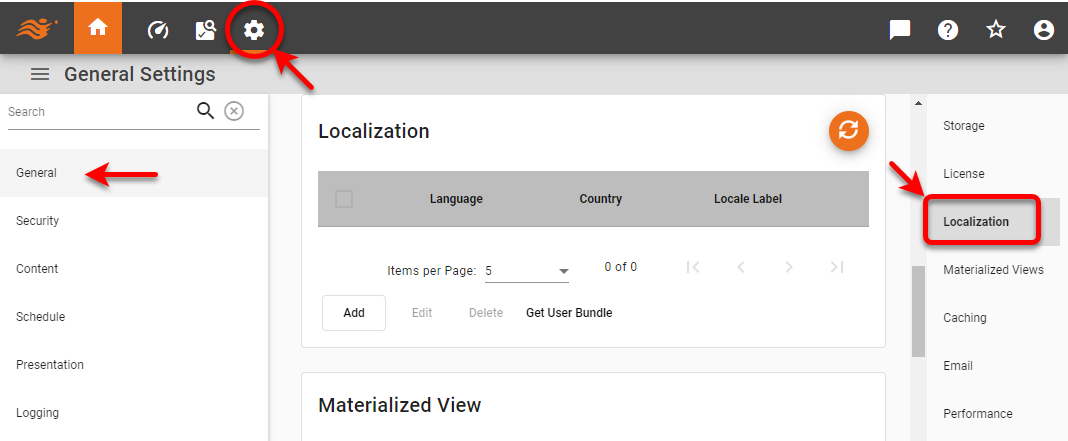
Press the ‘Settings’ button
 at the top of Enterprise Manager.
 -
Select the General page in the left panel, and select the Localization page in the right panel.
-
Press Add to open the ‘Add Locale’ panel.
-
Enter the ISO-standard two-letter codes for the desired language and country. Both language and country codes are required. These codes should match the codes used in the srinter and SreeBundle mapping file names. For example, for a French Canadian locale, enter “fr” for ‘Language’ and “CA” for ‘Country’. (See Localize the User Portal for more details.)
-
See Localize the User Portal for information about how to create the srinter mapping file.
-
See Localize a Data Source and Localize a Dashboard for information about how to create the SreeBundle mapping file.
-
The SreeBundle file itself does not require a country code. You can omit the country code from the filename (i.e., use only the language code in the filename) to create a single mapping file that will be loaded for any country matching the specified language.
-
-
Press Apply to register the locale.
-
Repeat the above steps to create a separate pair of mapping files for each locale you wish to register.
-
After you create the mapping files, press the ‘Reload’ button
 above the table to reload the mappings.
To ensure that the localizations apply correctly to all assets (including assets that were assigned Text IDs prior to creation of the mapping files), it is recommended that you restart the server.