Enable Multi-Tenancy
| This feature is available only in Enterprise Edition. |
You may want to provide users from different organizations (i.e., “tenants”) with access to different sets of data and different server features. This is called a multi-tenancy. To facilitate design of a multi-tenant environment, StyleBI allows you to create independent data connections for each tenant. Each tenant can access only the unique connections for which they have privileges.
To enable multi-tenancy, follow the steps below:
-
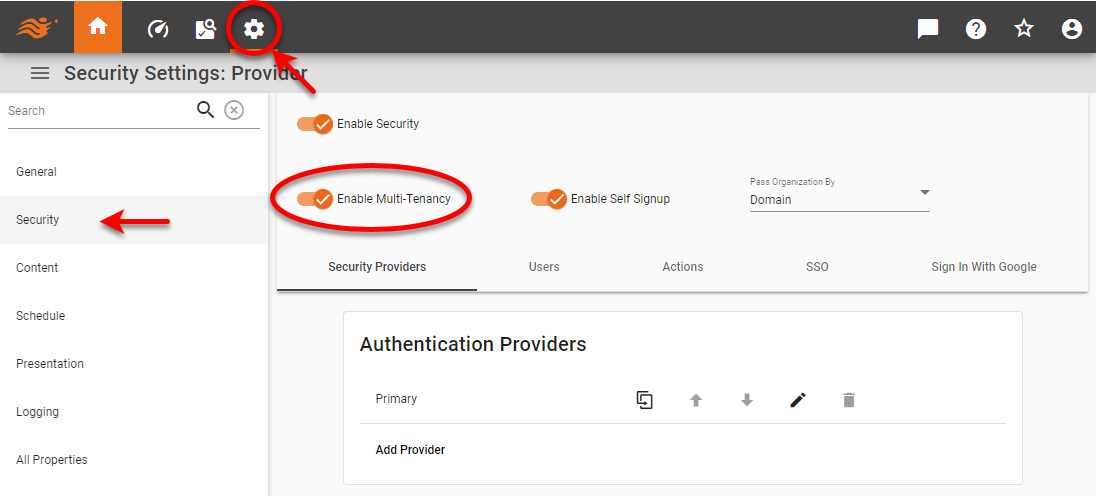
Press the ‘Settings’ button
 at the top of Enterprise Manager.
 -
Select the Security page in the left panel.
-
Select ‘Enable Multi-Tenancy’.
-
Select one of the options from the ‘Pass Organization By’ menu.
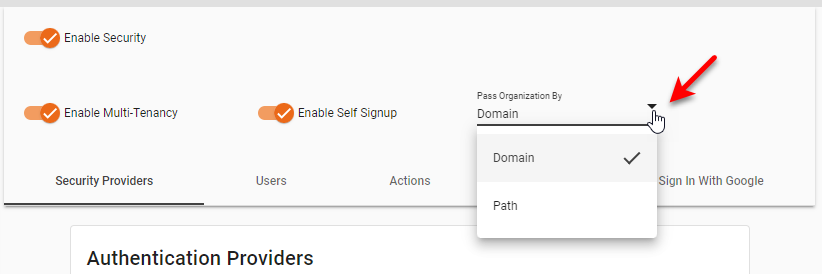
The following options are available:
- Domain
-
The organization ID is extracted from the lowest-level subdomain of the URL. For example, if the StyleBI server is accessed from http://organization1.stylebi.example.com, then “organization1” is passed as the user’s organization ID. If no organization is found in the URL, the default organization is used.
The Domain option requires DNS records to resolve the domain name to the StyleBI server. This is typically achieved by using a wildcard DNS record (
*.stylebi.example.com, for example) that points to the StyleBI server’s IP address. - Path
-
The organization ID is extracted from the first path component of the URL. For example, if the StyleBI server is accessed from http://stylebi.example.com/organization1, then “organization1” is passed as the user’s organization ID. If no organization is found in the URL, the default organization is used.
The Path option requires a proxy server in front of the StyleBI server to set the required HTTP headers (generally,
X-Forwarded-For,X-Forwarded-Host, andX-Inetsoft-Remote-Uri) so that the StyleBI server knows the original path and can extract the organization ID. TheX-Inetsoft-Remote-Uriheader should be set toscheme://host/org_idif theorg_idis present. A sample configuration for HAProxy is shown below:Sample HAProxy configurationfrontend ft_web bind :8080 name http maxconn 10000 acl is_Org path_beg /<OrgID> (1) use_backend bk_web_<OrgID> if is_Org default_backend bk_web_default backend bk_web_default http-request set-header X-Forwarded-Port %[dst_port] option forwardfor balance roundrobin cookie SERVERID insert indirect nocache server server1 server1:8080 maxconn 10000 weight 10 cookie server1 check server server2 server2:8080 maxconn 10000 weight 10 cookie server2 check server server3 server3:8080 maxconn 10000 weight 10 cookie server3 check backend bk_web_<OrgID> (1) http-request set-header X-Forwarded-Port %[dst_port] http-request set-header Host %[hdr(host)] http-request add-header X-Inetsoft-Remote-Uri "http://hostname:port/<OrgID>" http-request add-header Cookie X-INETSOFT-ORGID=<OrgID> (1) http-request replace-path ^/<OrgID>/(.*) /\1 (1) option forwardfor balance roundrobin1 Replace <OrgID>with the configured Organization ID.
-
Proceed to create organizations. See Create an Organization for more information.