Create an Organization
| This feature is available only in Enterprise Edition. |
An organization is assigned to a user when multi-tenancy is enabled (see Enable Multi-Tenancy), and the URL used to access the StyleBI server provides the organization ID. When an organization is identified in the URL, the users, groups, and roles specified for that organization will be in effect for the session.
Users within an organization only have access to assets scoped for that organization, although individual access can be restricted further through the assignment of permissions. (See Set Repository Permissions.)
| Organization Administrator is a role that grants administrator privileges to a user within the user’s specific organization. Site Administrator is a role that grants a user system-wide administrator privileges, including access to all organizations and system settings. |
Create a New Organization
To add a new organization, follow the steps below:
-
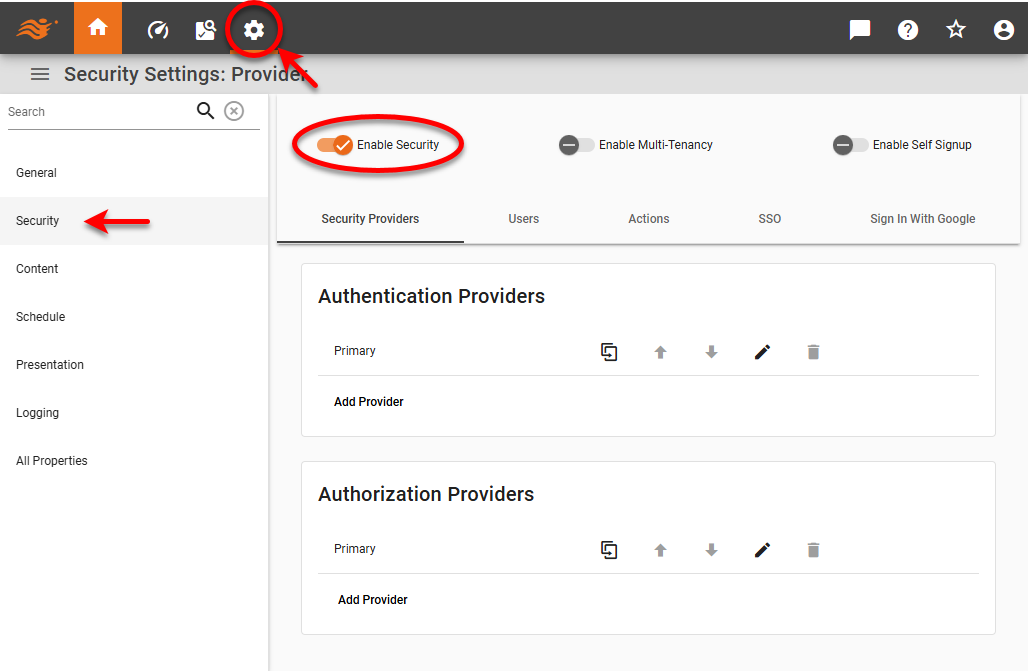
Press the ‘Settings’ button
 at the top of Enterprise Manager.
 -
Select the Security page in the left panel.
-
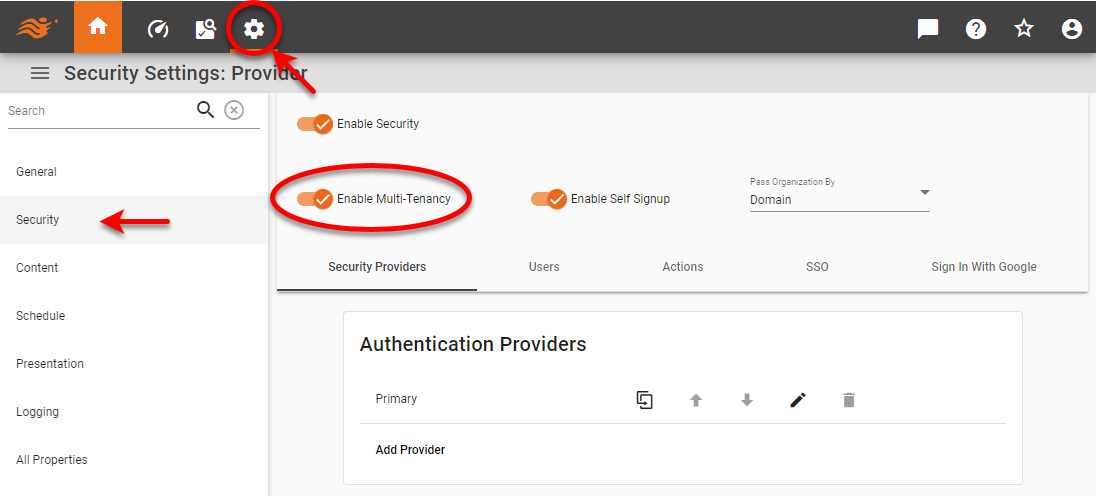
Select ‘Enable Multi-Tenancy’. See Enable Multi-Tenancy for more information.
-
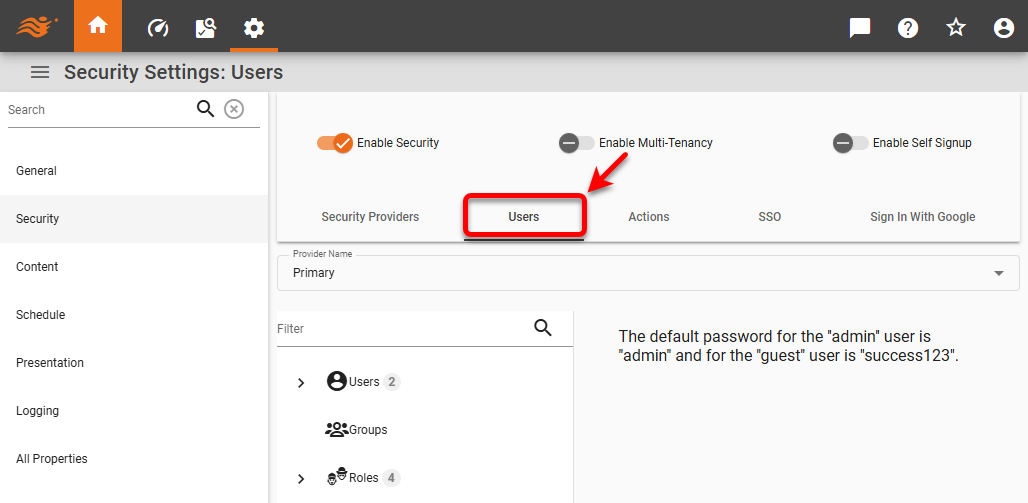
Select the Users tab.
-
From the ‘Provider Name’ menu, select the security provider under which to define organizations.
-
Press the New Organization link below the navigation tree. (This option is available when multi-tenancy is enabled. See Enable Multi-Tenancy.)
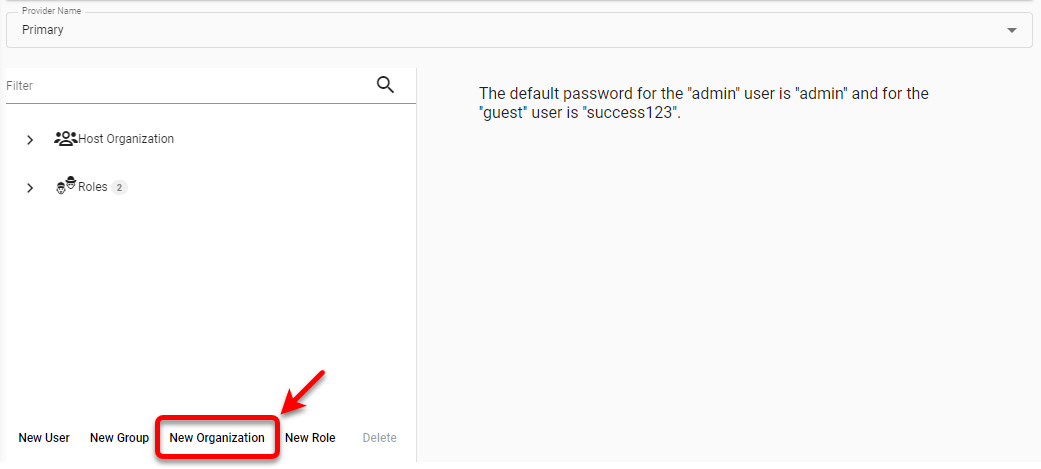
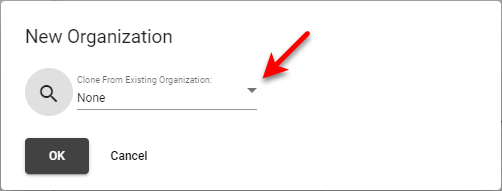
This opens the ‘New Organization’ dialog box.
-
In the ‘Clone From Existing Organization’ menu, choose an existing organization from which you want to copy settings such as identities, permissions, organization-scoped properties, and assets (Dashboards, Data Worksheets, data sources). The ‘Host Organization’ is the default organization that is administered by the Site Administrator. Select ‘None’ to create the organization without preexisting settings.
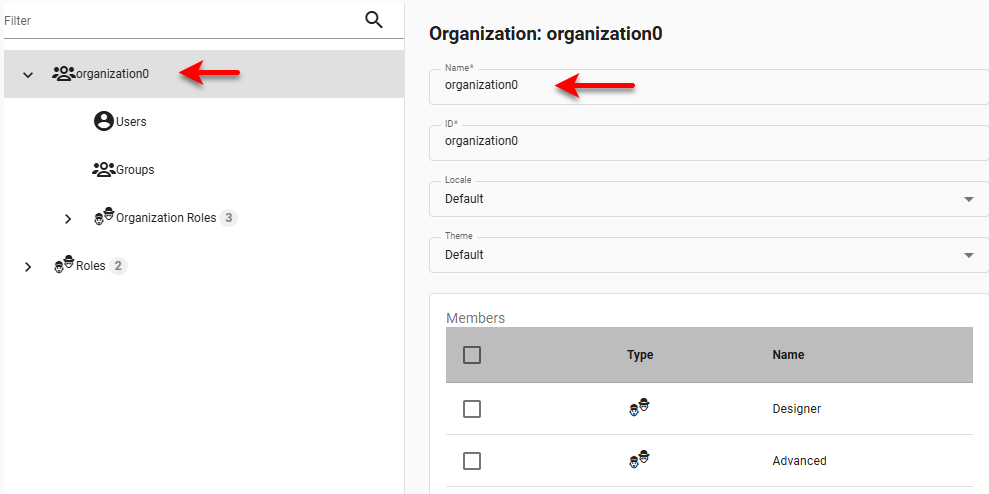
To ensure security, you may be prompted to confirm that you want to proceed with cloning. This creates an organization with a default name ‘organizationN’ (organization0, organization1, etc.).
-
Optional: Type in the ‘Name’ and ‘ID’ fields to change the name and ID of the organization.
-
Optional: To select a Portal theme for the organization, choose the desired theme from the ‘Theme’ menu. (See Presentation for information about how to create a theme.)
-
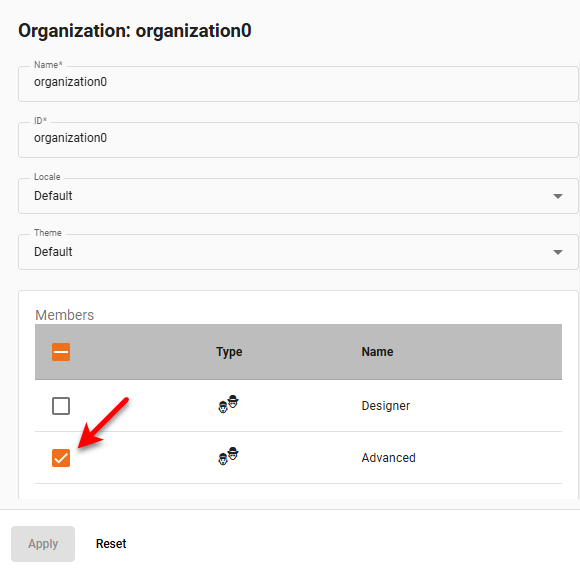
Optional: To add roles to an organization, select the desired role in the ‘Members’ panel.
-
Optional: To inherit permission from another role, press the Add button in the ‘Inherit from’ area. Choose the desired role(s) in the ‘Add Role’ dialog box (Ctrl-click to select multiple roles), and press Add. The new role will inherit all permissions from the roles selected in this list.
-
Optional: To add administrative permission for the organization (ability for other users to administer this organization), press the Add button in the ‘Administrator Permissions’ area. Choose the desired user(s), groups(s), or role(s) in the ‘Add Permission’ dialog box (Ctrl-click to select multiple items), and press Add. Users, groups, or roles granted such administrative privileges will be able to use Enterprise Manager to remove the role or reassign users and groups to the role.
-
Optional: To impose user limits for the organization, press the Add button in the ‘Properties’ panel.
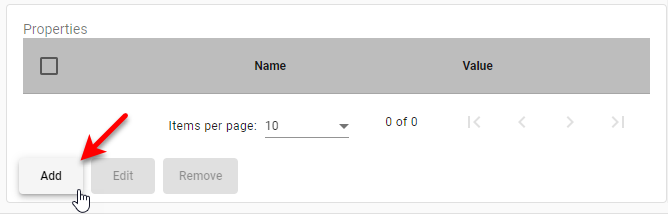
This opens the ‘Property Editor’, where you can set the following properties for the organization:
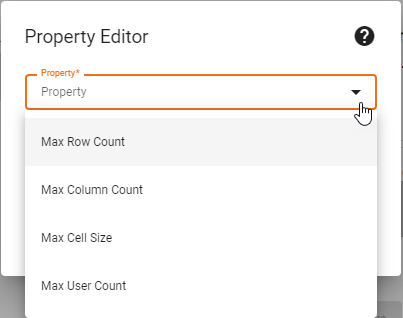
Max Row Count
The maximum result size for queries during runtime execution of Dashboards.
Max Column Count
The maximum number of columns permitted in Data Worksheet data blocks or Dashboard Tables. Default is 200.
Max Cell Size
The maximum number of characters for String-type data displayed in a Dashboard Table cell or Data Worksheet cell. Default is 200.
Max User Count
The maximum number of simultaneous users permitted on the server.
-
Press Apply to save your changes.
-
Repeat the above steps to add additional organizations.
Edit an Existing Organization
To edit an organization, follow the steps below:
-
Press the ‘Settings’ button
at the top of Enterprise Manager. -
Select the Security page in the left panel.
-
Select the Users tab.
-
From the ‘Provider Name’ menu, select the security provider under which to define organizations.
-
If multi-tenancy is enabled, from the ‘Select Organization’ menu, choose the desired organization. This feature is available only in Enterprise Edition.

Settings you make in the steps below apply only to the selected organization. Users and assets of other organizations are not affected. Note that some settings may only be available to the Host Organization, and are only visible to the Site Administrator. -
Select the organization on the tree.
-
Make any desired edits and press Apply.