REST XML
Follow the steps below to create a connection:
Watch Video: Connecting to a Database
This video might show an earlier version of the feature or operation that differs in minor ways from the current version.
-
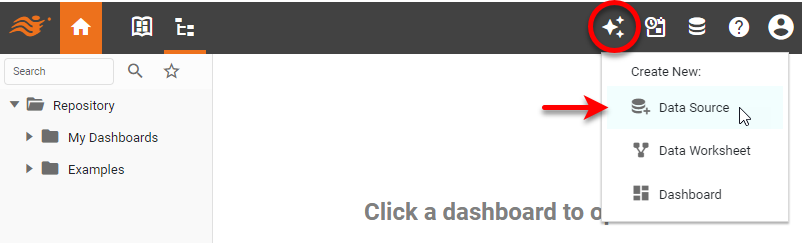
In the User Portal, press the top ‘Create’ button
 in the Portal, and select ‘Data Source’
  .
.
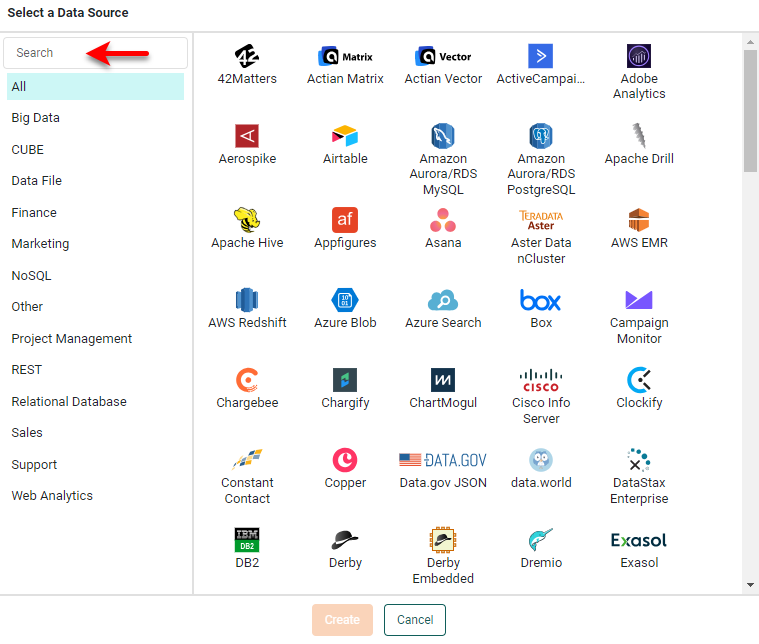
This opens the data source listing. To locate a data source, select the data source category in the left panel, or enter the data source name in the search field.
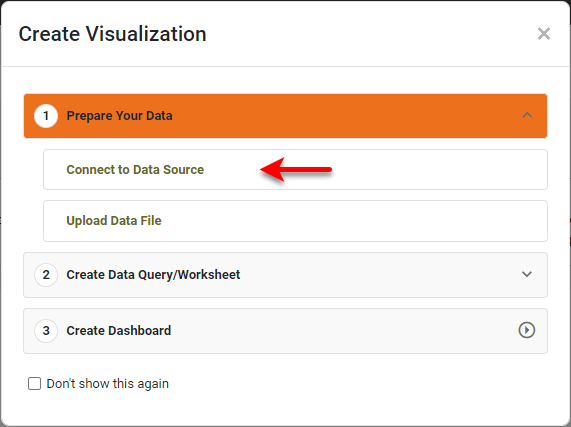
If you see the ‘Create Visualization’ dialog box instead of the User Portal, press Connect to Data Source to display the data source listing.
-
Select the ‘REST XML’ data source, and press Create. This opens the data source definition screen.
-
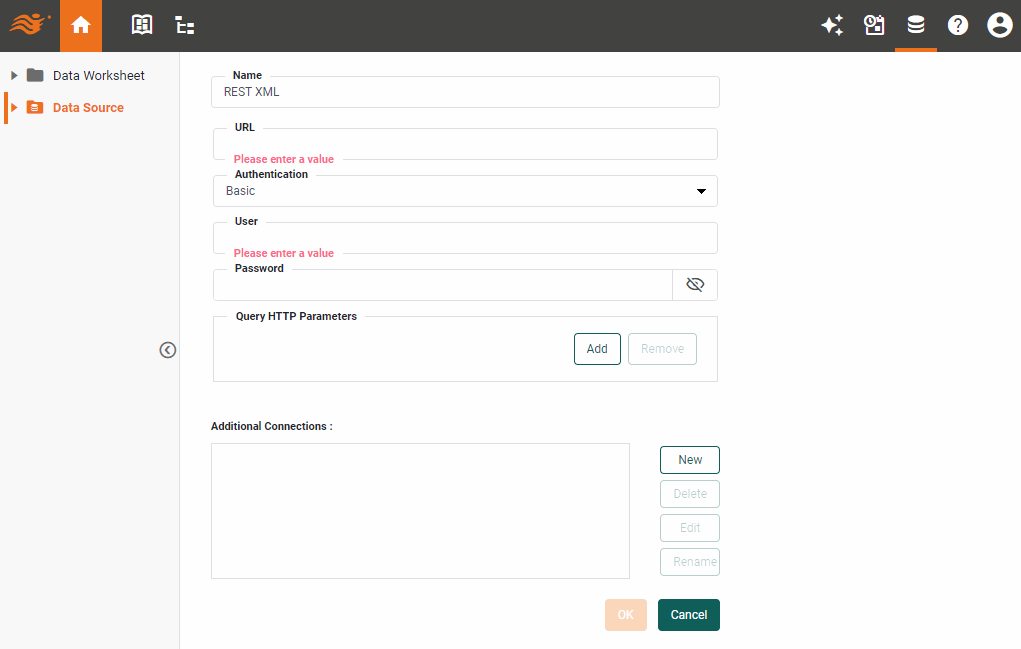
In the ‘Name’ field, enter a label for this data source connection.
-
Enter the ‘URL’ for the web service.
-
Select an authentication method (if desired). The options are ‘Basic’ and ‘Two-step Token’.
-
Optional: For a multi-tenant environment (Enterprise Edition only), assign any desired additional connections. See Add an Additional Connection for more information.
-
Press OK.
You may see the ‘Create Visualization’ dialog box at this step.
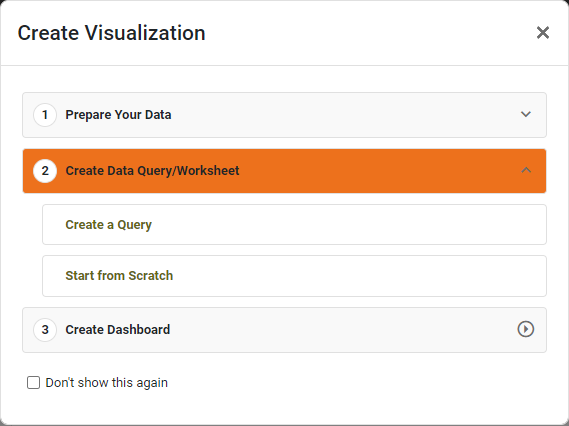
Press the ‘Close’ button
 to continue with the steps below (recommended), or choose one of the following options:
- Create a Query
-
Define a query based on the selected data source. See New Data Worksheet Dialog Box in Create a Data Worksheet for further instructions.
- Start from Scratch
-
Open a blank Data Worksheet to build data blocks from fields of the selected data source. See Create Data Blocks in Create a Data Worksheet for further instructions.
-
Verify that the data source you added is shown with a ‘check’ icon
 , indicating that the connection was successful.
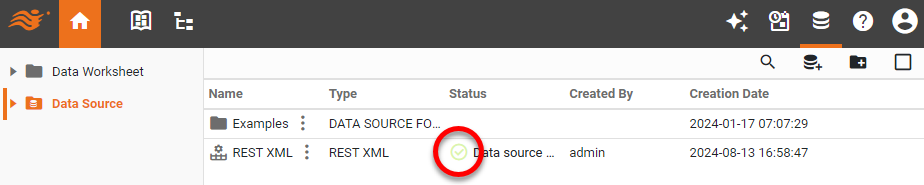
If the database is shown with an ‘Error’ icon
 , this means that the connection was not successful.
In this case, check the settings to make sure they are correct for your database. See Edit a Connection for information on how to change connection settings.
After you have created a connection to the database, you can proceed to define a data set. See REST XML Query.