Organize Data Sources
The following sections explain how to manage your data sources.
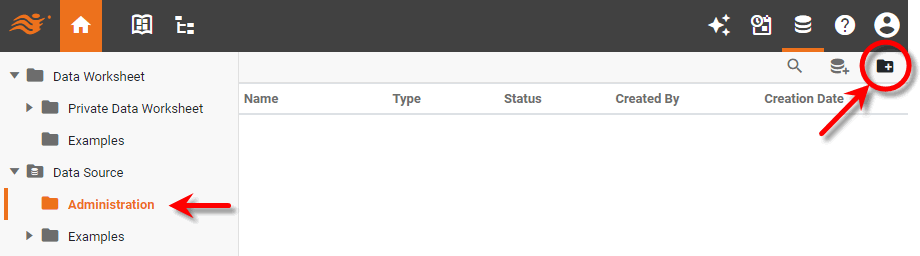
Create a New Folder
To create a new folder for data sources or other data assets (logical models, physical views, VPMs), select the folder that you want to contain the new folder, and press the ‘New Folder’ button  in the toolbar.
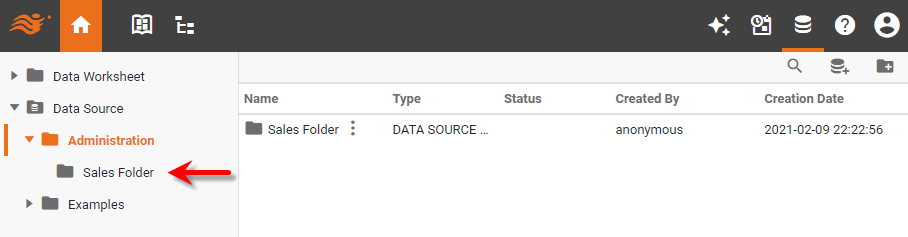
Enter the desired ‘Folder Name’, and press OK. This creates a new folder in the specified location.
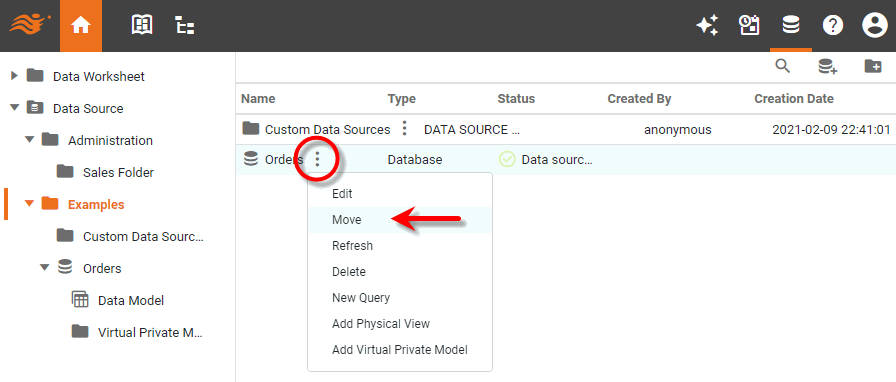
Move a Data Source
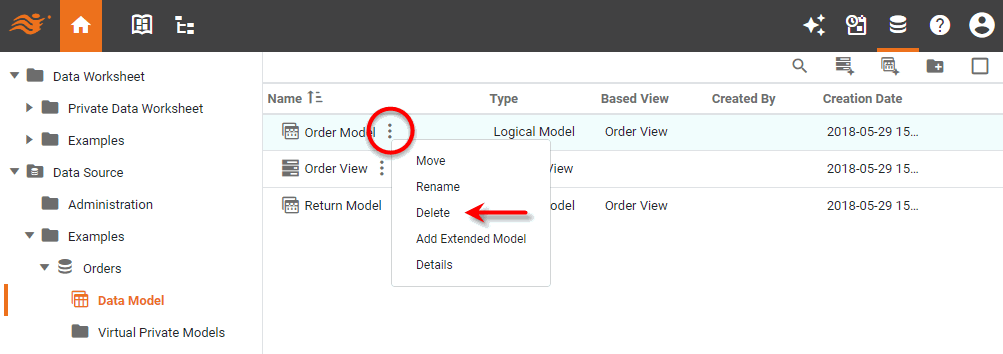
To move a data sources or other data asset (logical model, physical view, VPM, folder) from one folder to another, press the ‘More Options’ button  next to the asset that you want to move, and select ‘Move’.
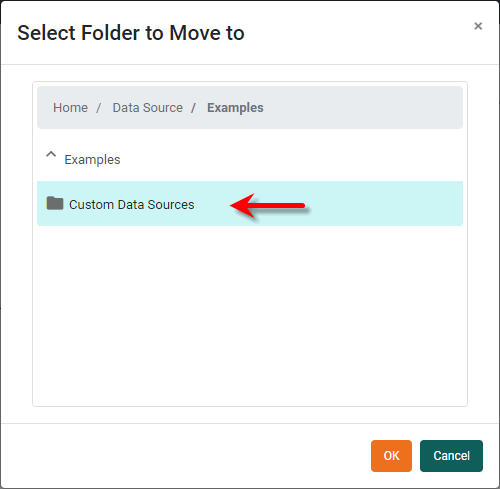
Select the folder that you want to move the asset to, and press OK. The asset is moved to the selected folder.
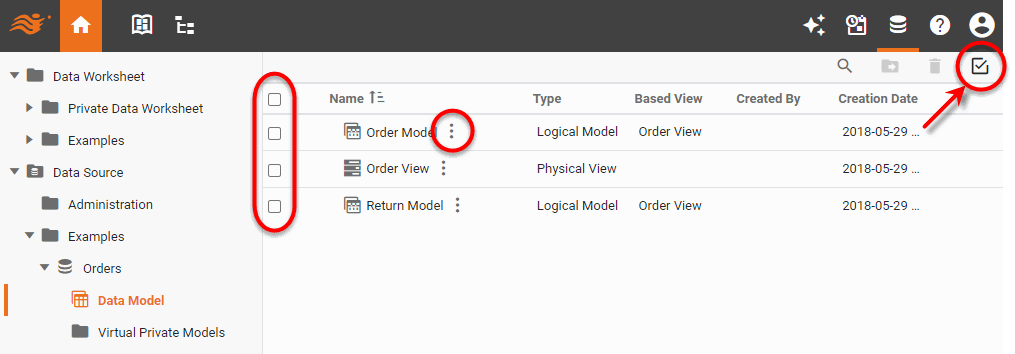
To move multiple assets at the same time, press the ‘Turn Selection ON’ button, and select the desired assets before pressing the ‘More Options’ button button, or press the ‘Move Selected’ button  in the toolbar.
Delete a Data Source
To delete a data source or other asset (logical model, physical view, VPM), press the ‘More Options’ button next to the asset that you want to delete, and select ‘Delete’.
| The system administrator may be able to recover deleted assets. |
To delete multiple assets at the same time, press the ‘Turn Selection ON’ button, and select the desired assets before pressing the ‘More Options’ button button, or press the ‘Delete Selected’ button  in the toolbar.