Save a Public Dashboard
To save a Dashboard, follow the steps below:
| You must possess write permission for the Dashboard or folder in order to save changes. |
-
Press the ‘Save’ button
 in the toolbar or press Ctrl+S on the keyboard. This opens the ‘Save Dashboard’ dialog box.
The ‘Save’ button replaces an older version with the current version, retaining the same name. To save a new version of the Dashboard under a different name, press the ‘Save As’ button  .
.
-
Under the Repository tab, enter a name for the Dashboard in the ‘Name’ field.
-
To save into a public location, choose a location outside the ‘Private Dashboard’ folder, and press OK. The Dashboard will be available to all users who have read permission for the selected location.
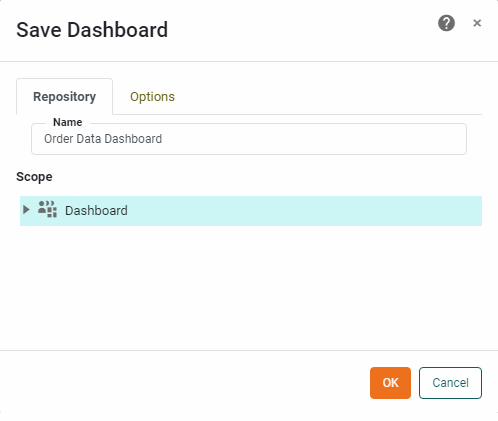
To save into a private location, select the ‘Private Dashboard’ node and press OK. The Dashboard will only be accessible to its creator.
-
Under the Options tab, select ‘List on Portal Tree’ to make the Dashboard available to users in the User Portal.
-
Press OK to save the Dashboard.
| Dashboards and Data Worksheets are auto-saved. If you attempt to open a saved Dashboard or Data Worksheet and a newer auto-save exists, you will be prompted to use the auto-saved version. (It is not possible to browse the auto-saves.) Note that there are some events, such as network interruptions, that may prevent a valid auto-save from being created. |