Add an Additional Connection
| This feature is available only in Enterprise Edition. |
A single data source can support multiple connections. This is useful in a multi-tenant environment, as it enables you to assign different connections to different users. This also provides a way to parameterize a data source, allowing access to the same data source with different parameters for each connection.
To add a new connection, follow the steps below:
-
Press the top ‘Data’ button
 in the Portal.
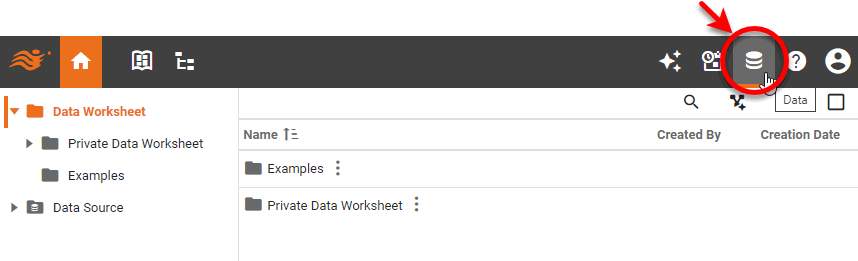
-
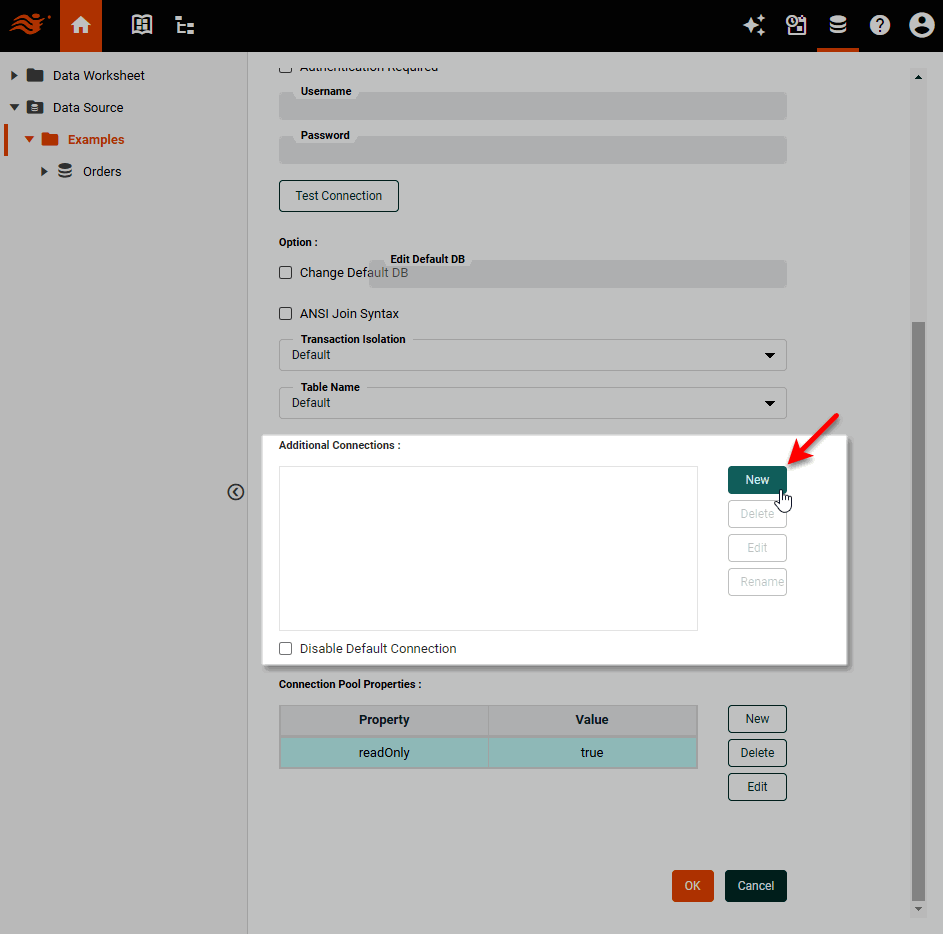
Select the ‘Data Source’ folder and select the data source for which you want to create an additional connection.
-
In the ‘Additional Connections’ panel of the data source definition page, press New.
-
Enter the required information in the ‘New Additional Connection’ dialog box. (Follow the same procedure you used to set up the default connection; see Connect to a Specific Data Source for details.) For JDBC data sources, the additional connection can be any JDBC data source. For other data sources, the additional connection must be to a data source of the same type.
-
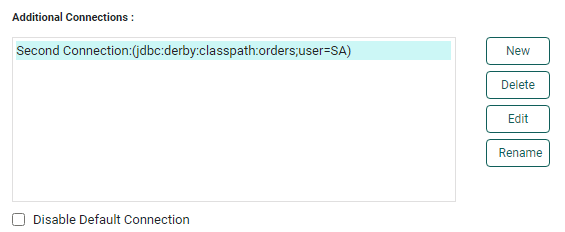
Press OK. This adds the new connection to the connection list.
-
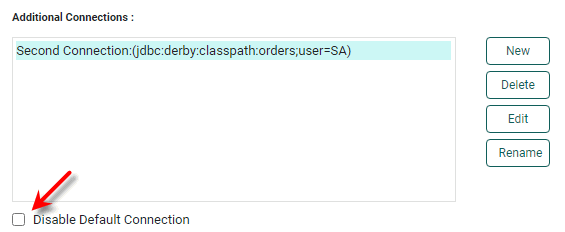
Optional: Select ‘Disable Default Connection’ (JDBC data sources only) to prevent users who do not have explicit connection privileges from obtaining any data connection. Deselect this option to permit unassigned users to connect to the default connection.
-
Press the ‘Save’ button
 on the toolbar to save the changes to the data source.
To edit a connection, select the connection in the list, and press Edit. To change the connection name, press Rename. To remove the connection, press Delete.
Administrators can now set user or group permissions on this connection. See Set Repository Permissions for more information. To create a physical view based on a connection for a relational database (JDBC) data source, see Extend a Physical View.